The Cardboard Globe

Inspiration
Ariel needed a birthday gift. She loves travelling. She low-key hates tech. Challenge accepted.
How does it work?
We take a CAD model of the globe, splice it into different layers, and then laser cut each layer out of cardboard. Then, we place each one on top of the other and glue it together with normal Elmer's glue.Process
 Started out with a simple CAD file I found online . Imported it, fixed all the diagnostic problems, and then used: offset surface to
create the width of the continents that I found best.
Started out with a simple CAD file I found online . Imported it, fixed all the diagnostic problems, and then used: offset surface to
create the width of the continents that I found best.
 This is what I used to create the globe. I added a little extruded "Ariel" in Asia to personalize it. Then, I exported it into an .stl file and then took it to 123D Make.
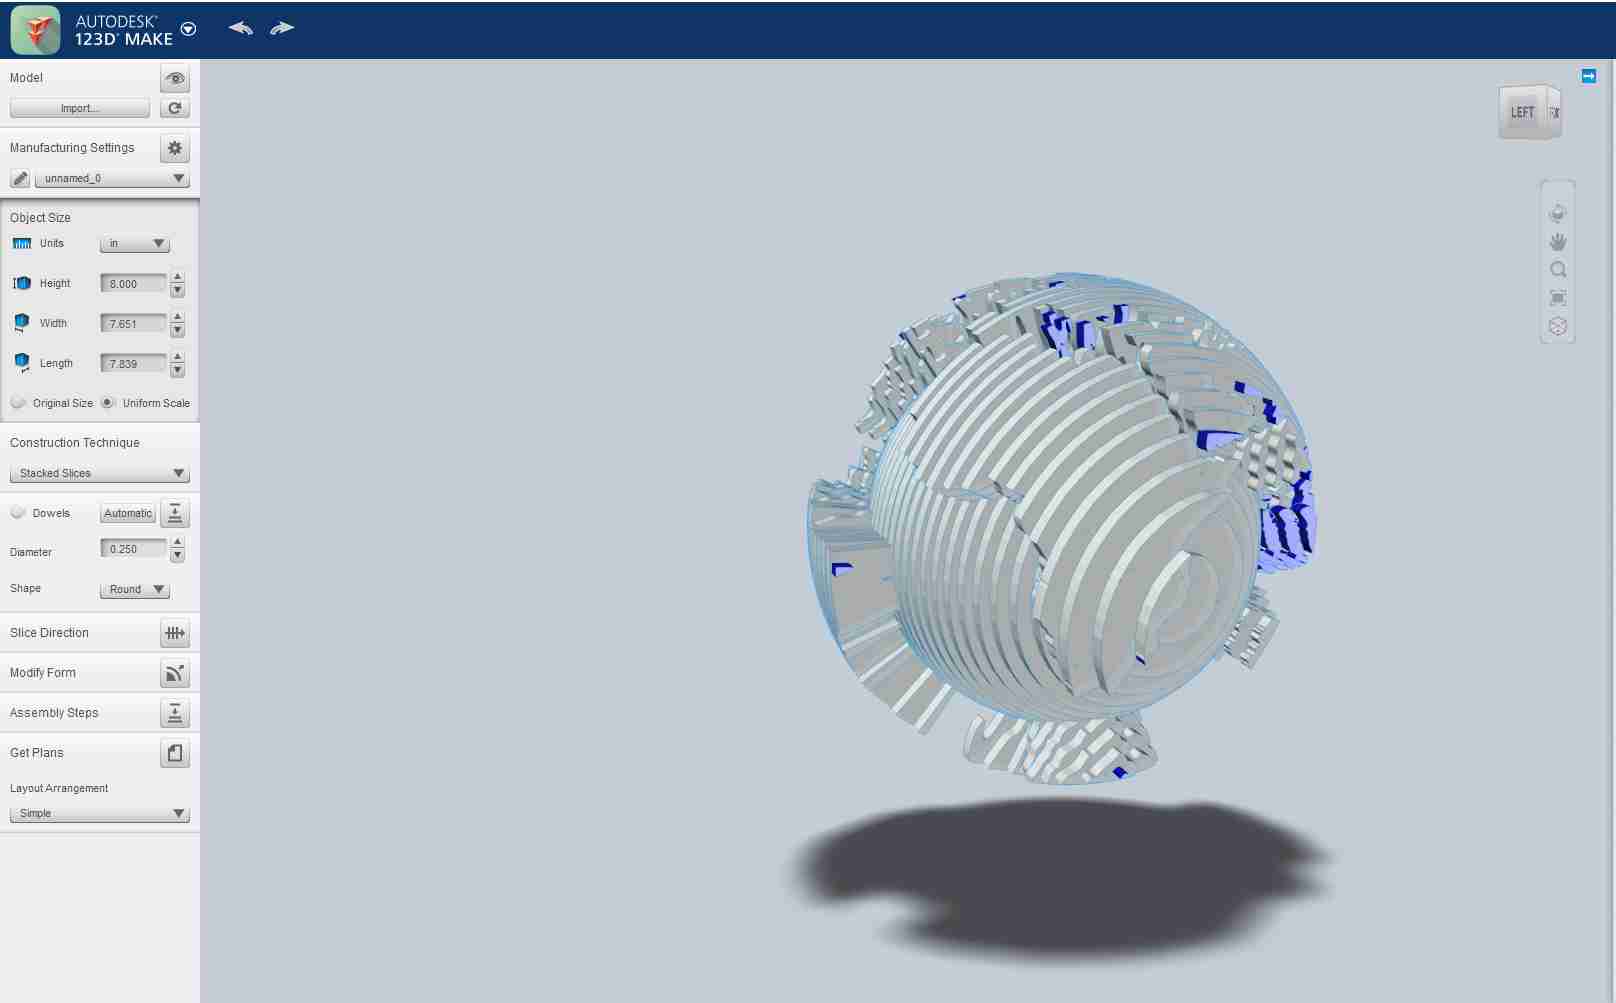 I then imported it to 123D-Make. The program is really finicky, so in order to fix the issue, I had to rotate the axis of cutting. Once I got it working, I exported all the files.
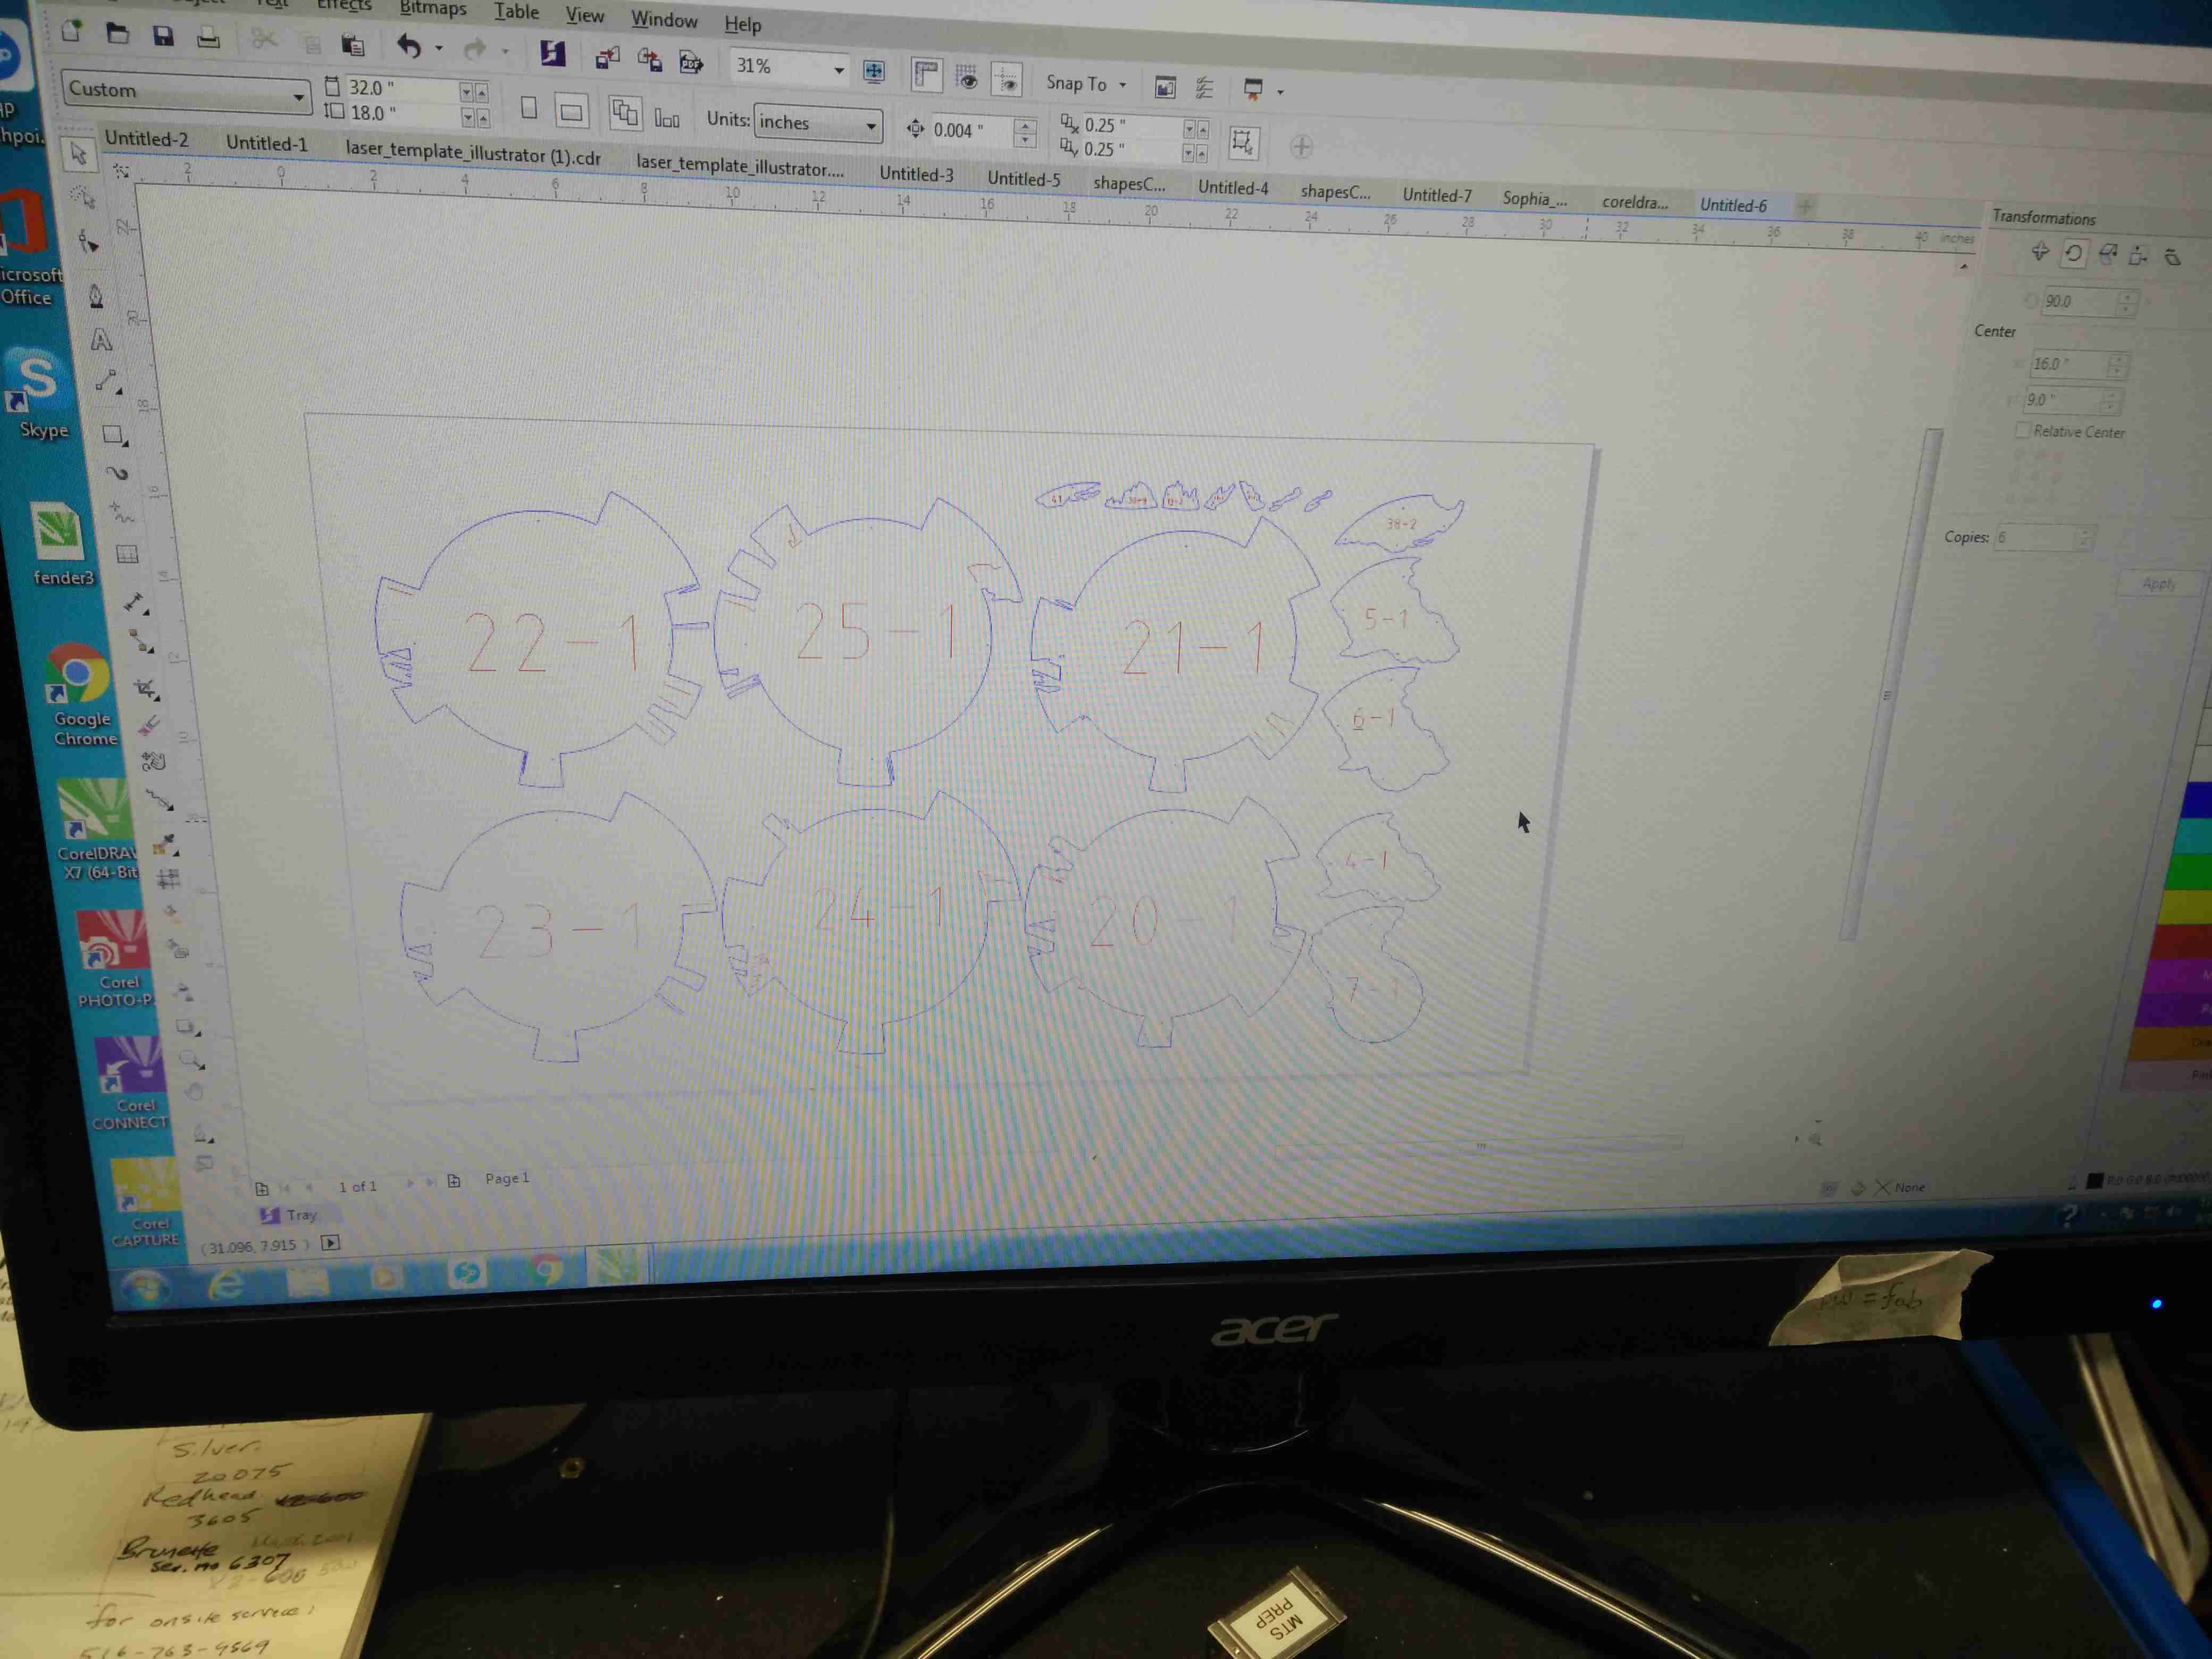 This is what the files look like once you import them into CorelDraw.
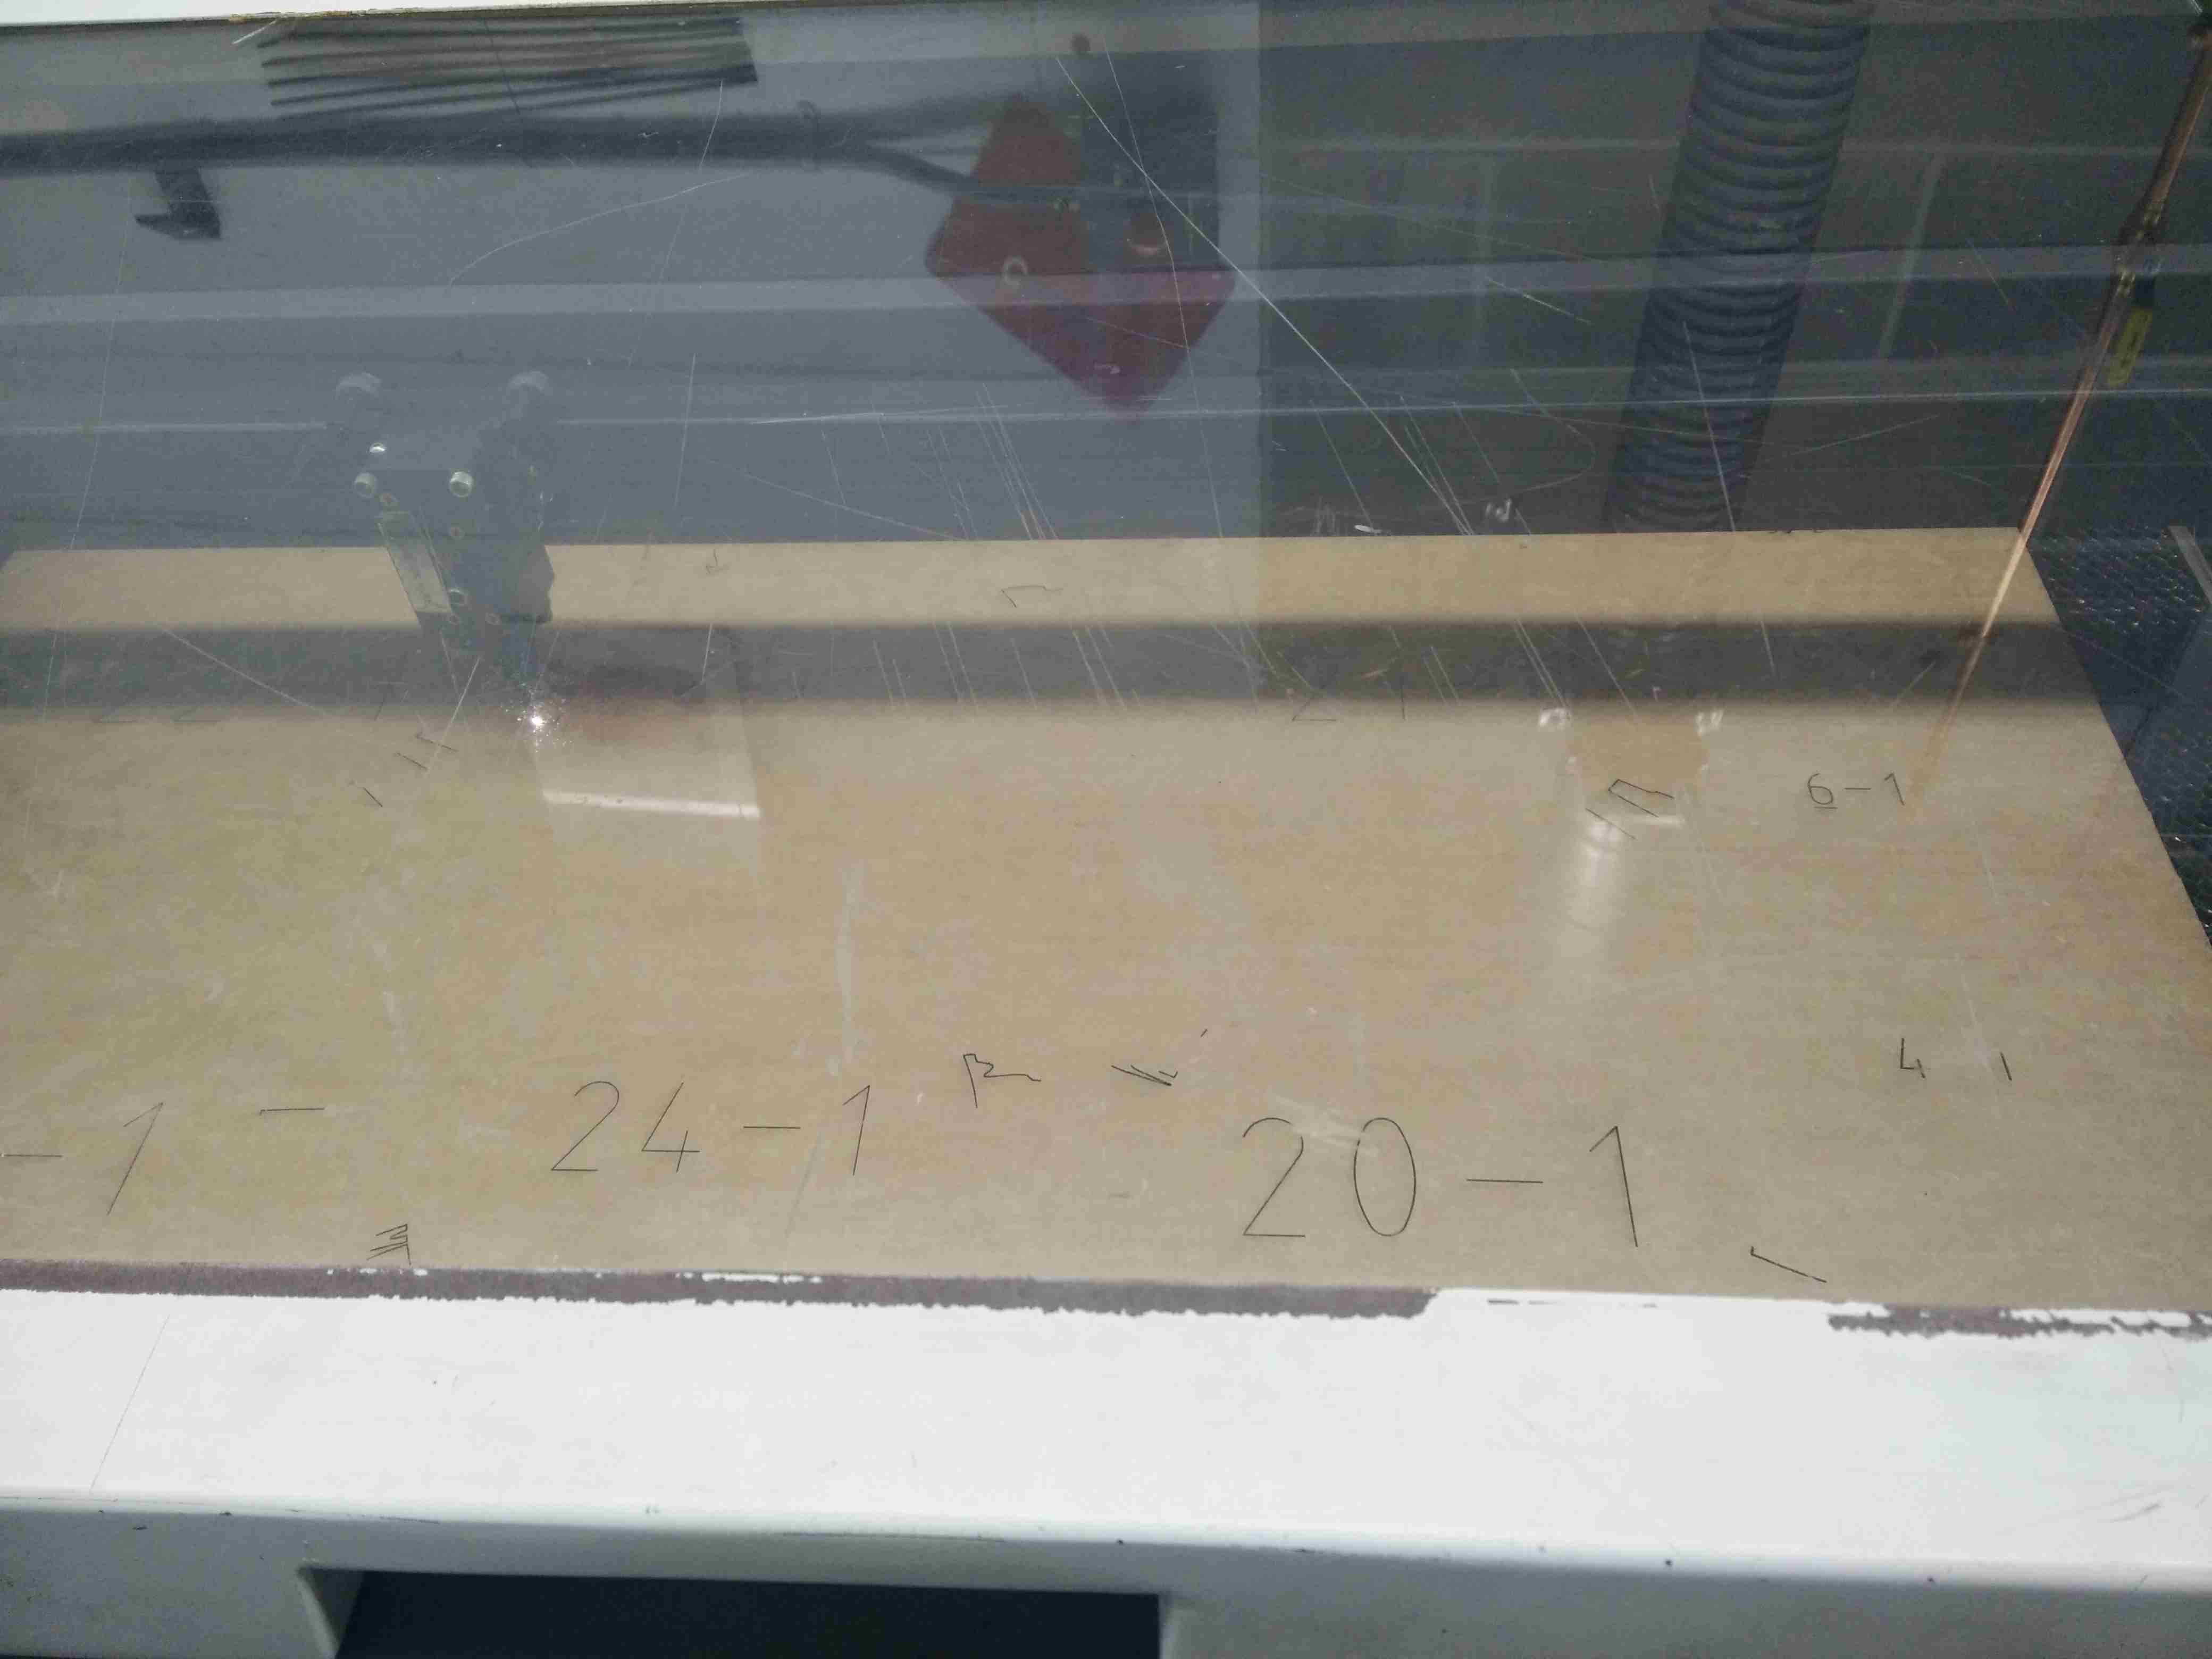 I then went to Staples and got all their 1' x 1' boxes. I needed around 10 boxes to make the globe. Then, I cut those with an exacto knife to get the 1' by 2' cardboard pieces that would fit the laser cutters.
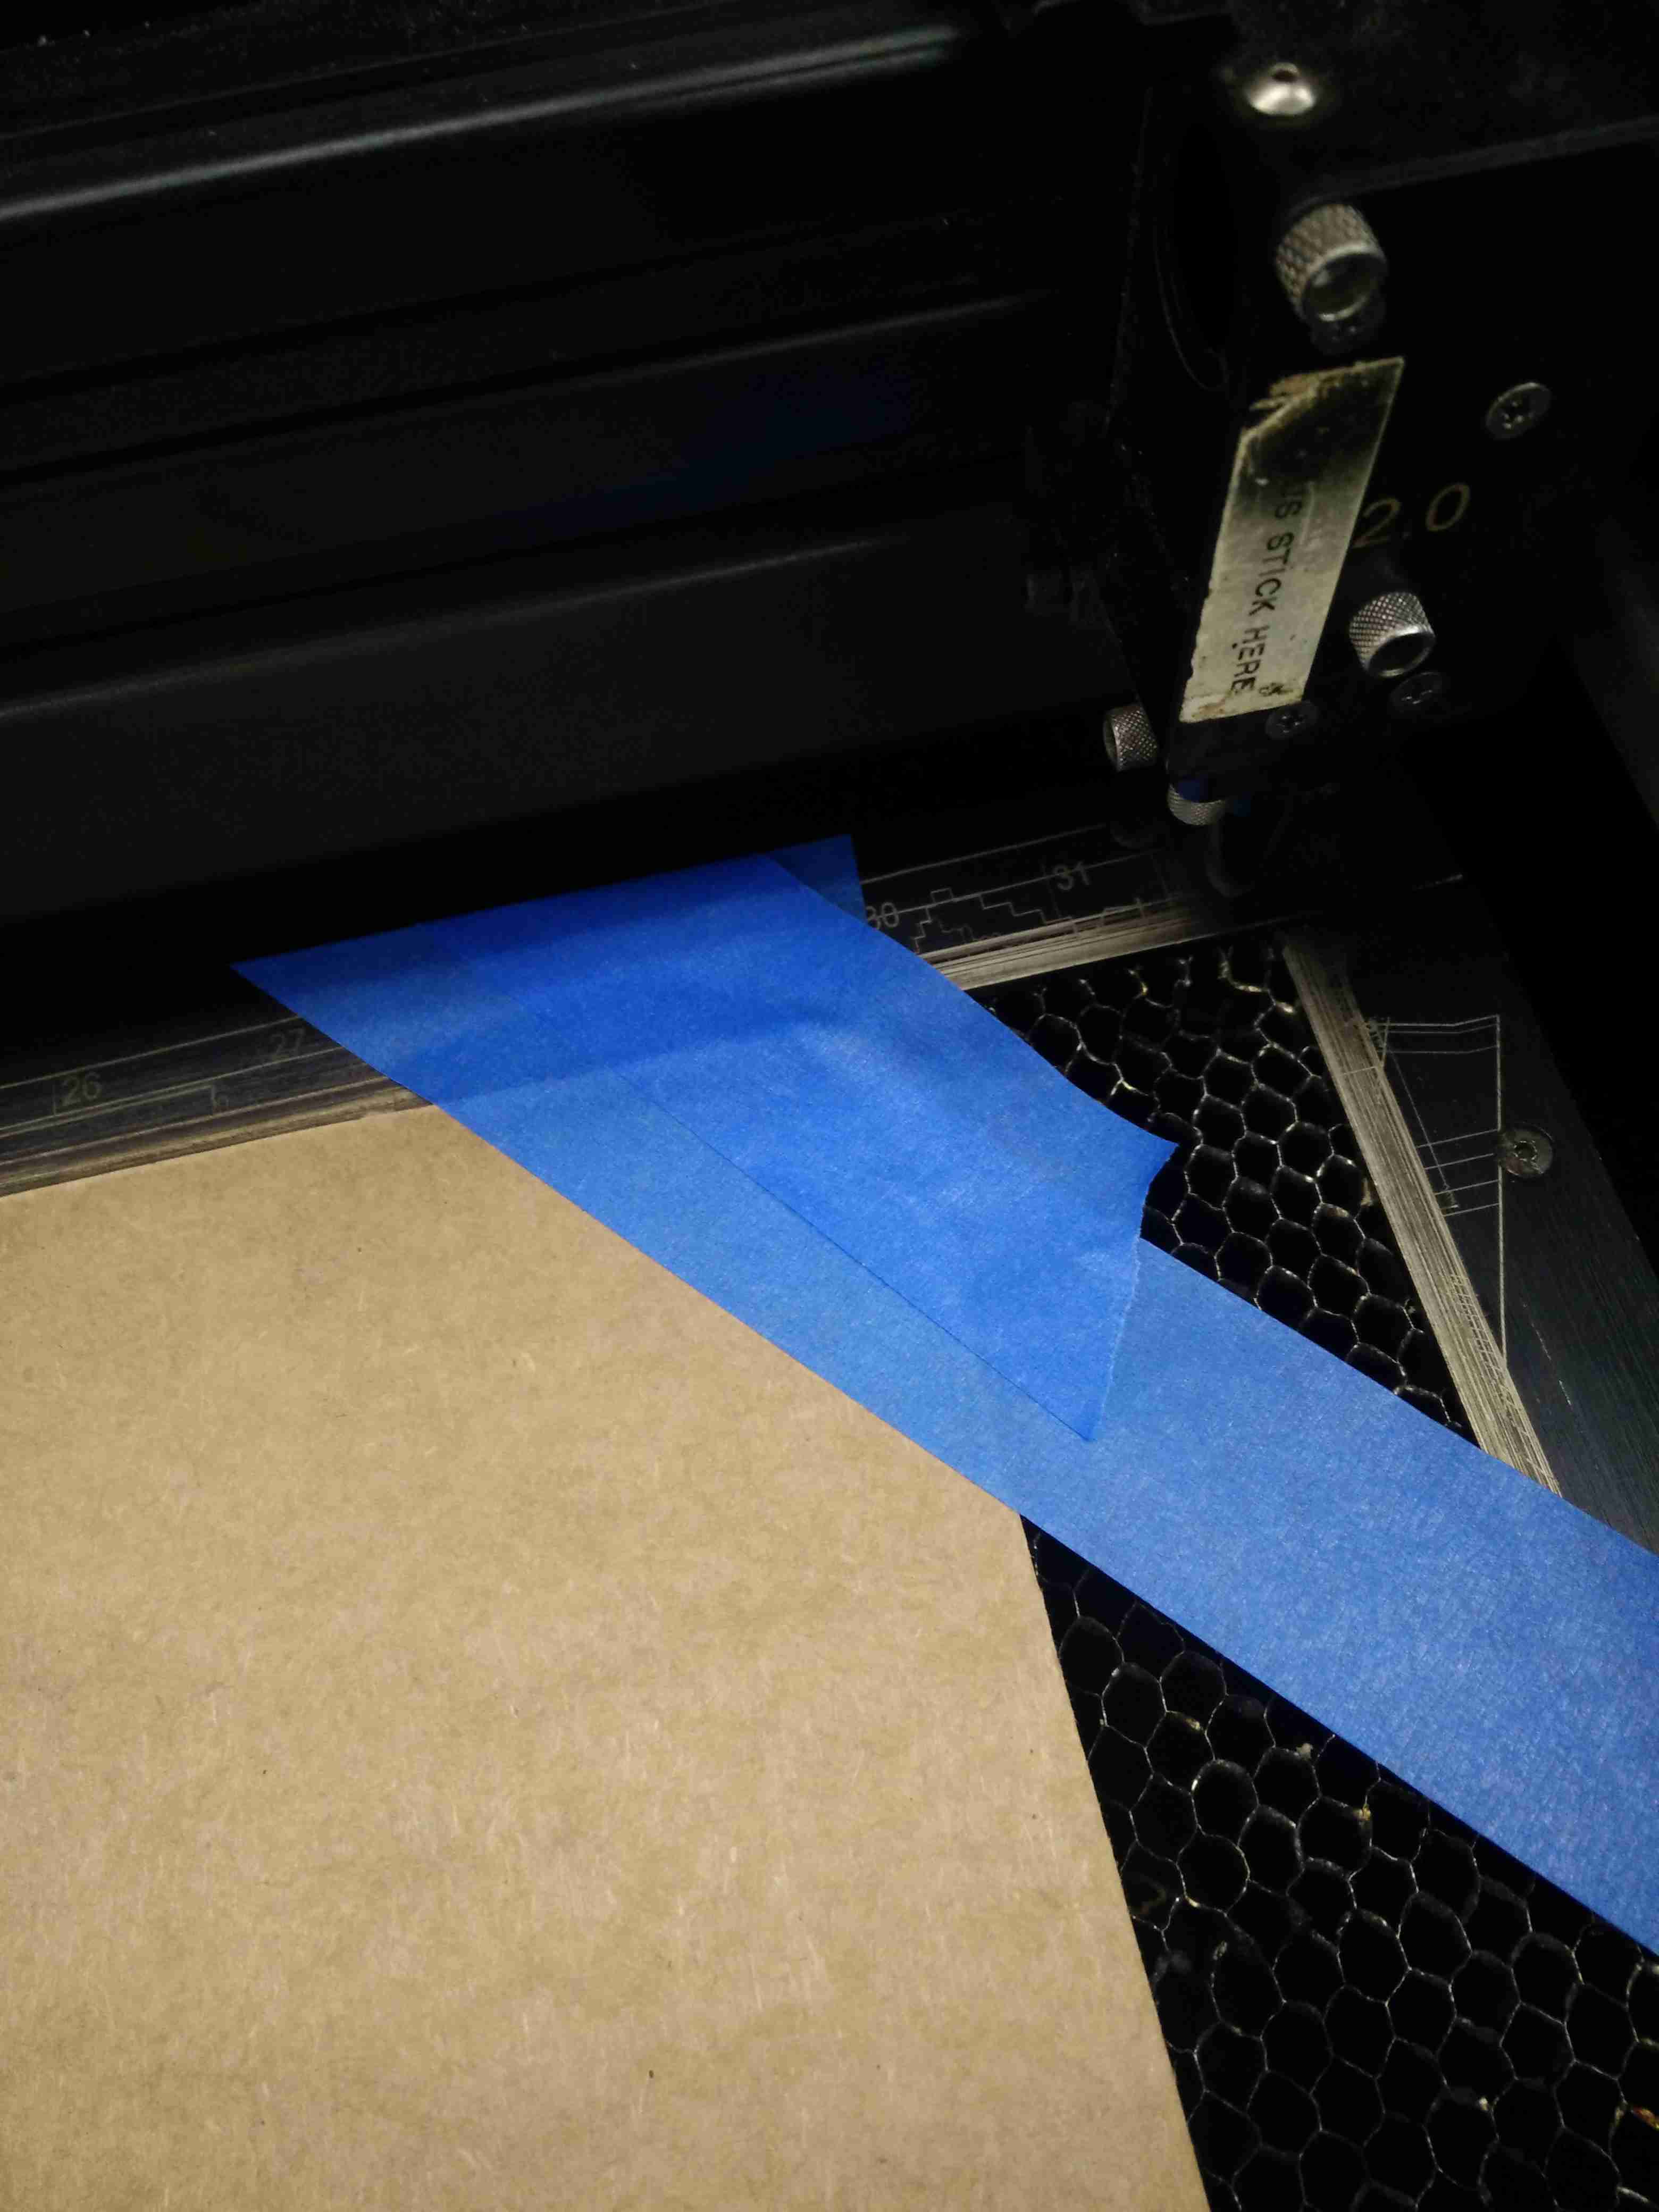 Be sure to tape down the cardboard so that it doesn't warp around the corners.
 All the parts are together! Now you just have to glue everything.
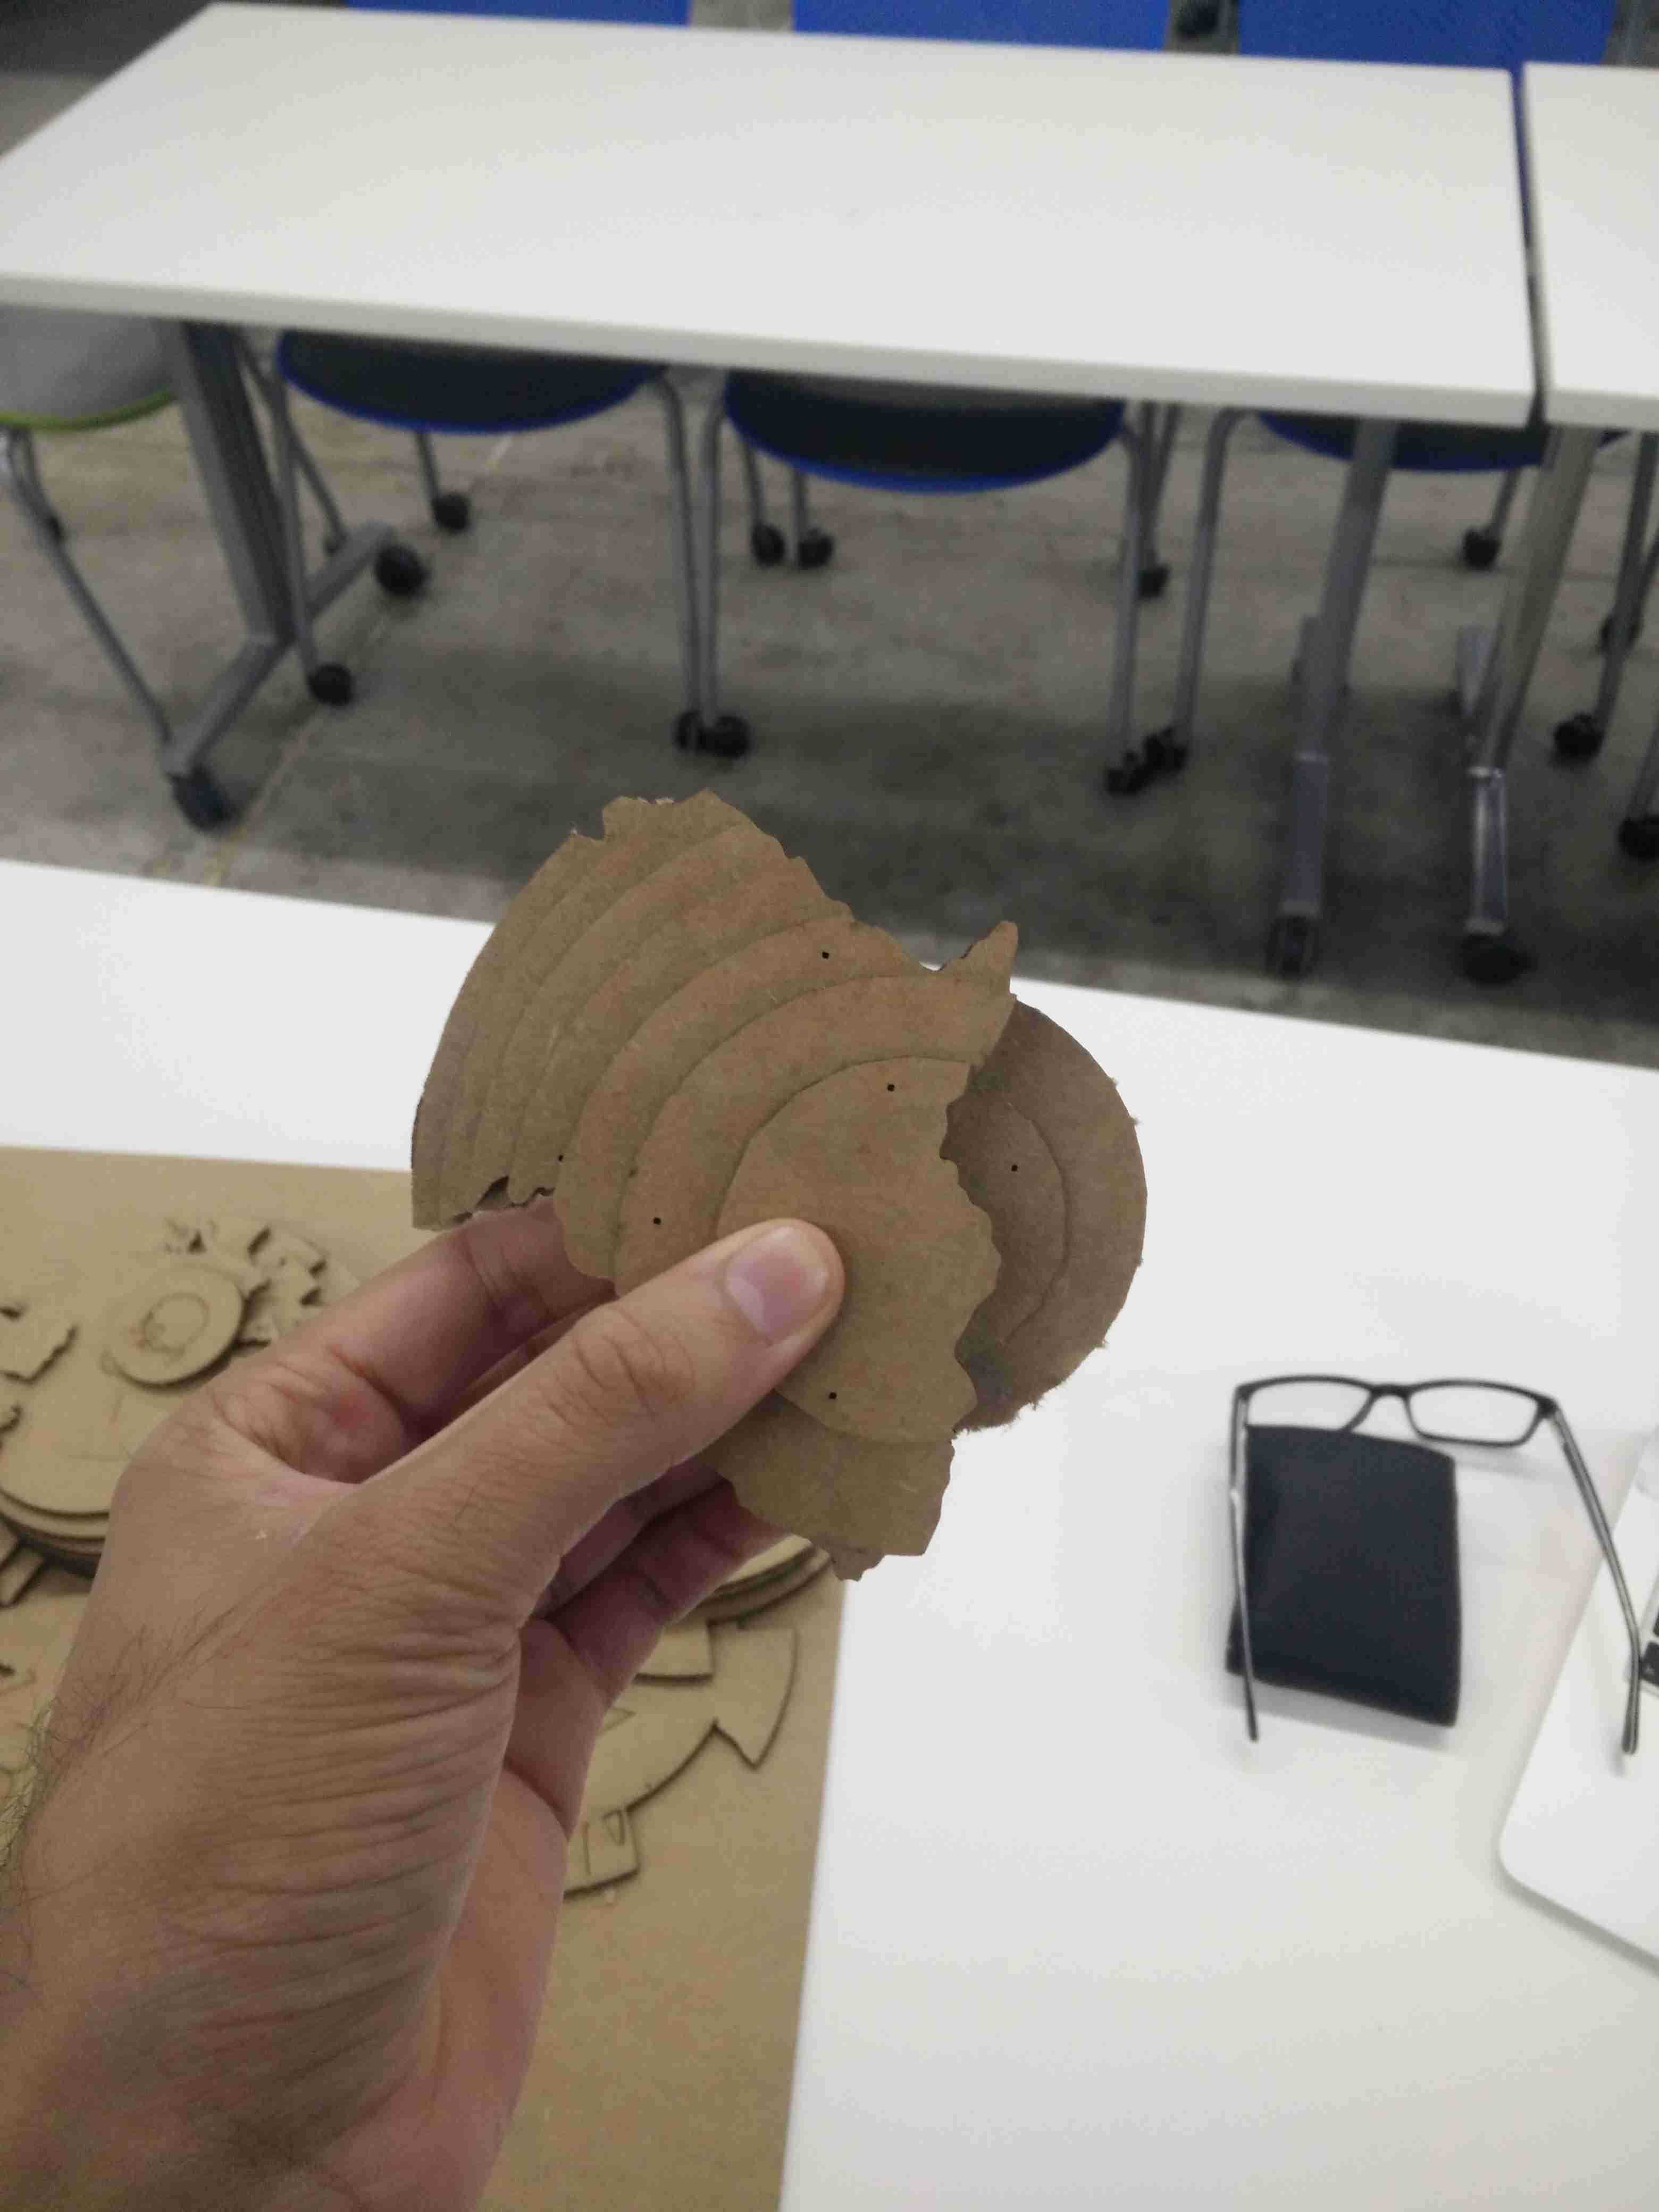 One by one, you glue it all together. This was the very beginning.
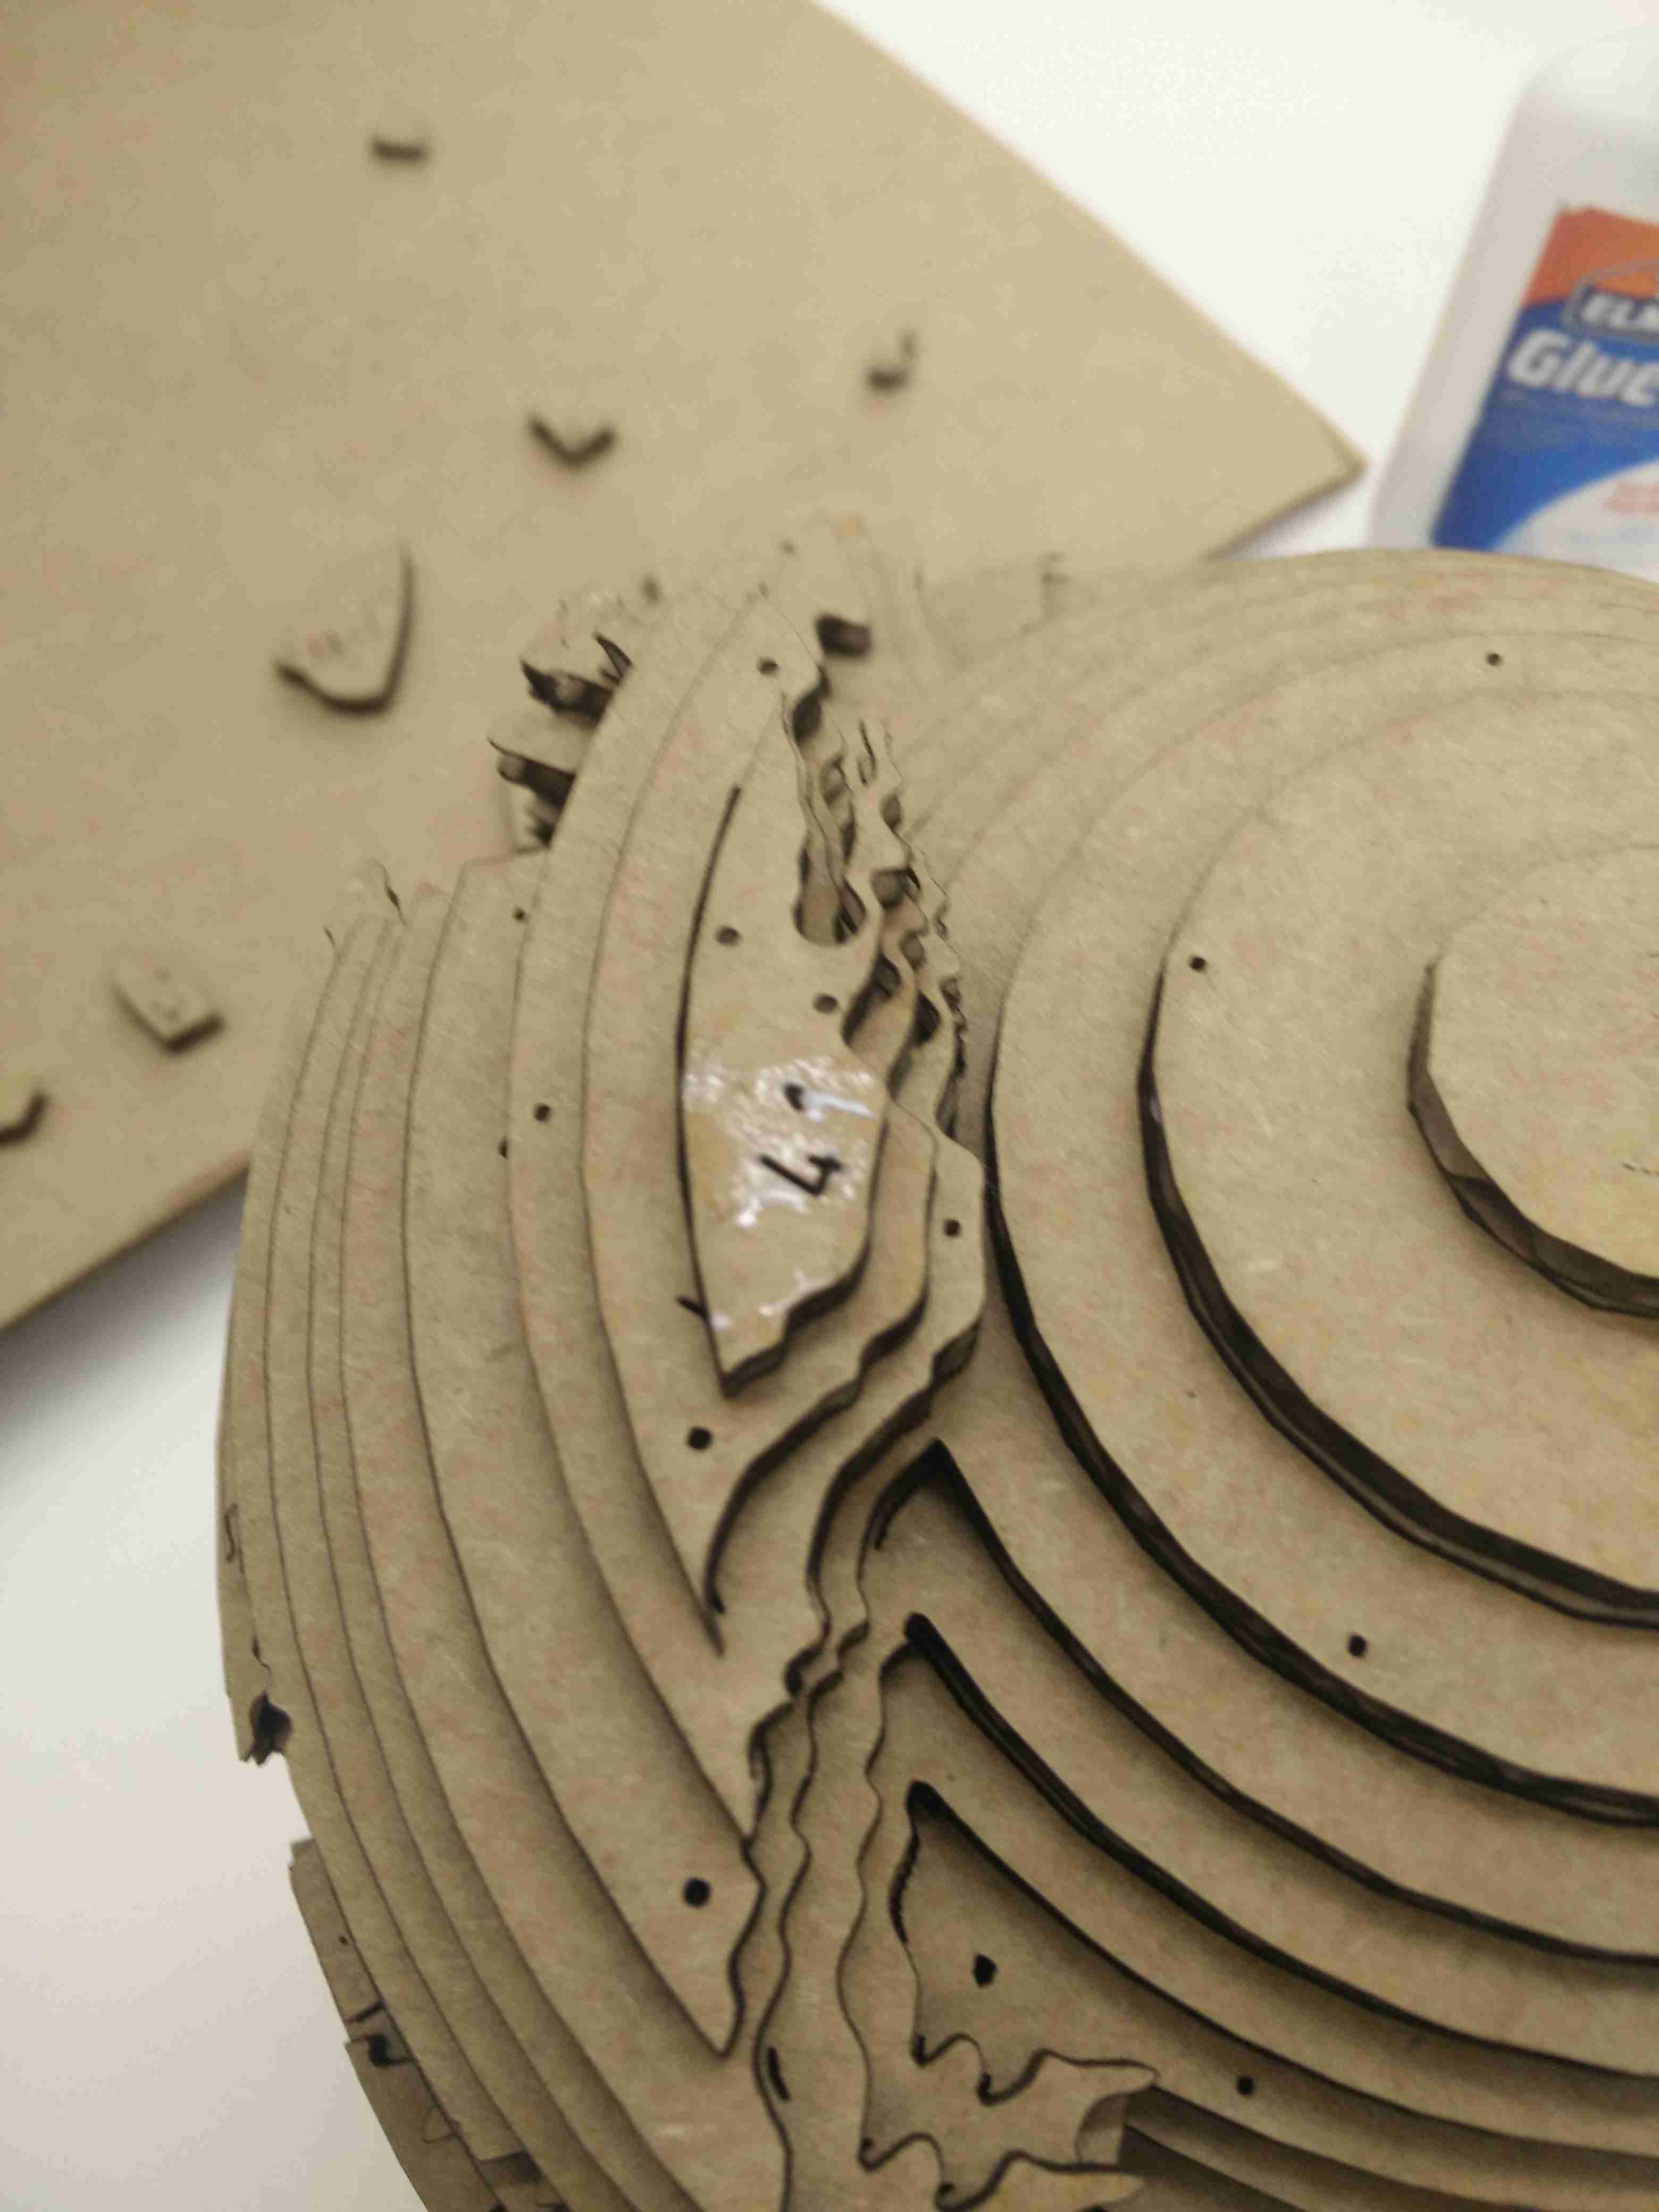 There were all these kinds of these little directional marks left over from the 123D make cut.
I peeled the top layer of the scrap cardboard and glued them over these spots to clean everything up.
There were all these kinds of these little directional marks left over from the 123D make cut.
I peeled the top layer of the scrap cardboard and glued them over these spots to clean everything up.
 All finished and on Ariel's desk! This took me much much much longer than I would like to confess, but #worth.